
Hej!
Nu har jag äntligen gett mig på att göra bokmärken i form av tags! har suktat efter detta sen i april när jag kom på idén och tänkte att det var en av alla saker jag vill göra i sommar under ledigheten :) Detta är faktiskt en födelsedagspresent till min fina kusin Maja som fyller år den 23e juni. Jag har inspirerats av Inger Elise Hjelm aka Lilla Pyssel Inger på facebook, där hon gjort otroligt vackra tags med klänningar på! Jag har gjort min egen variant och lekt med frantage och framförallt med vikt på att dekorationerna inte får vara så höga, eftersom det ska ligga i en bok.
Såhär ser tagen/bokmärket ut på framsidan...
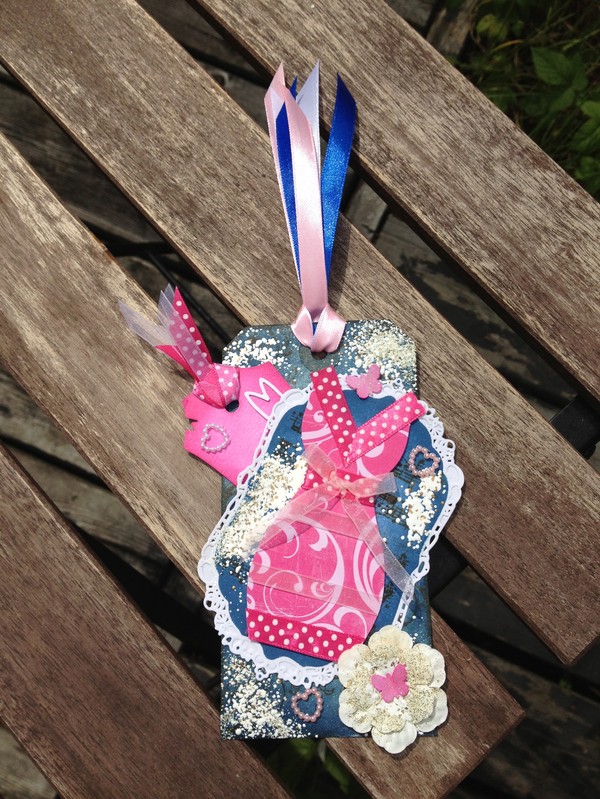
En närbild på blomman som jag haft Frantage Enamel (Shabby White) på. Här syns även en hjärtdekoration till vänster om blomman.
Nu har jag äntligen gett mig på att göra bokmärken i form av tags! har suktat efter detta sen i april när jag kom på idén och tänkte att det var en av alla saker jag vill göra i sommar under ledigheten :) Detta är faktiskt en födelsedagspresent till min fina kusin Maja som fyller år den 23e juni. Jag har inspirerats av Inger Elise Hjelm aka Lilla Pyssel Inger på facebook, där hon gjort otroligt vackra tags med klänningar på! Jag har gjort min egen variant och lekt med frantage och framförallt med vikt på att dekorationerna inte får vara så höga, eftersom det ska ligga i en bok.
Såhär ser tagen/bokmärket ut på framsidan...
En närbild på blomman som jag haft Frantage Enamel (Shabby White) på. Här syns även en hjärtdekoration till vänster om blomman.

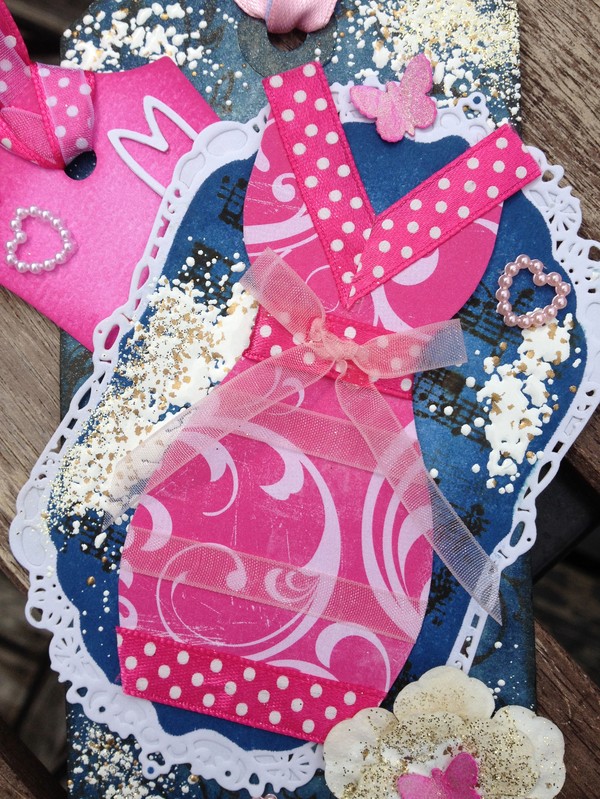
En närbild på klänningen... Jag har faktiskt gjort en egen mall men haft Ingers klänningar som inspiration. Jag valde att ha ytterligare ett papper på tagen, det som klänningen sitter på, och där har jag stansat ut med en Spellbinders Labels Four Gold. Sen har jag blendat in Faded Jeans-distress och stämplat med en You do-stämpel i form av noter med Walnut stain-distress. Till sist har jag haft på Frantage Enamel och satt dit klänningen.
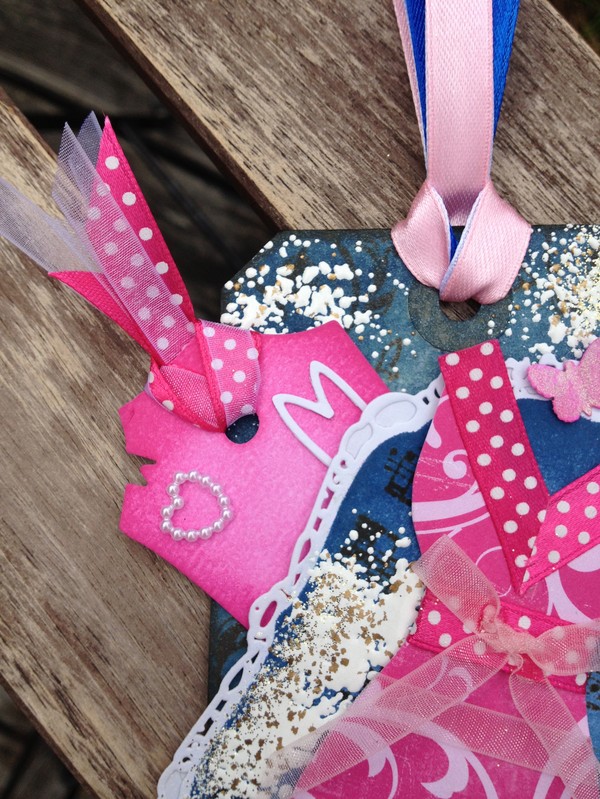
En liten närbild på den lilla tagen och frantage enamel på den stora tagen..
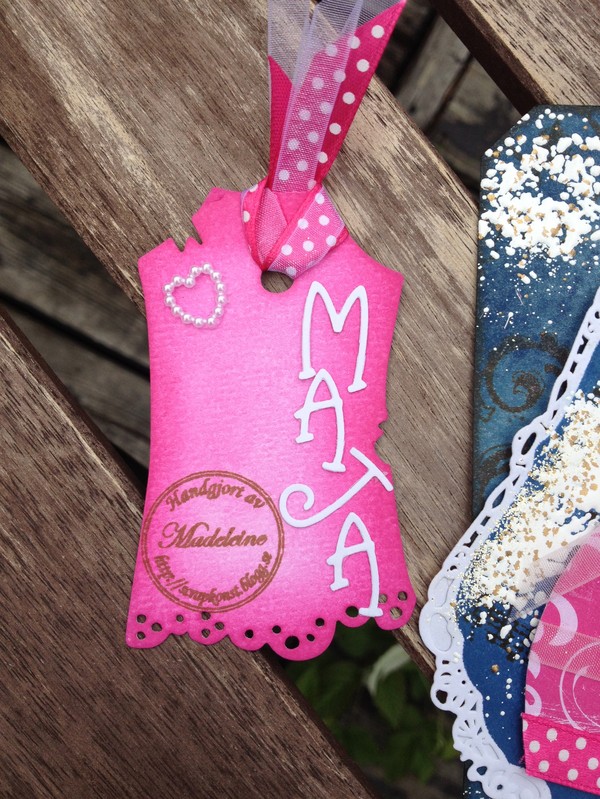
Och såhär ser lilla tagen ut utdragen! Den är utstansad med en Magnolia die, infärgad med Picked raspberry-distress och så har jag stansat ut bokstäverna med en bokstavsdie från Sizzix, Skittle Dee Doo. Till sist har jag stämplat min "handgjort av"-stämpel med Vintage photo-distress längst ner.
Och så har vi baksidan! Här har jag använt mig av två saker jag fått i swappar och av vänner! Den stämplade texten är UNDERBAR och jag tyckte den passade så bra till min fina kusin :)

Den stora fjärilen har jag färgat in med samma distress och faktiskt sprayat Perfect Pearl-mist på, men det syns inte så bra :)
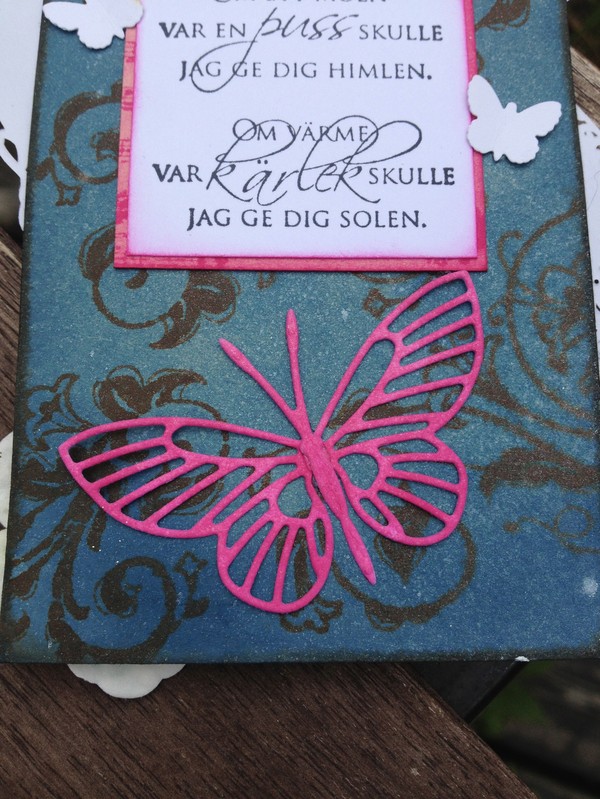
Jag har satt fast texten på ett papper som jag lekt ordentligt med olika stämplar och med Picked raspberry-distress. Blendade kanterna lite också med samma distress. Fjärilarna är obehandlade och tagen är infärgad med Faded Jeans-distress, sen har jag stämplat snirkelblommönster med Vintage photo-distress och till sist sprayat med Perfect Pearl-mist. Detsamma har jag gjort på framsidan, men där sitter så mycket dekorationer i vägen så det syns inte så mycket :)

Skulle du vilja ge bort ett personligt, handgjort bokmärke till någon du tycker om är du välkommen att kontakta mig via bloggen genom att kommentera under ett inlägg, så ordnar jag gärna det!
Det var allt för denna gång! Kram Madeleine


